A simple and effective levelling system designed for tiling professionals
The Rhino tile levelling system was developed from the need for a perfect plane between tiles that is often difficult to obtain due to imperfect screed coatings. The Rhino system is designed to fix uneven level between tiles, whether large or small, with a depth range of between 3 and 12mm.
Available in different sizes (2mm and 3mm), the bases act as both a leveller and spacer at the same time without needing to use further cross or T spacers for the grouting lines.
The Rhino Tile levelling system comprises 3 elements:
1. Levelling wedge
2. Levelling base element
3. Applicator / Plier.
The standard wedge can be used with both the 2mm and 3mm base levelling elements and is recoverable and re-usable for successive installations. The range of levelling elements includes spacers for grout space from 2mm to 3 mm for tiles of thickness 3-12mm.
The adjustable plier/applicator enables the correct pressure to be applied between the wedge and the bases for perfect alignment of the tiling, working equally well on tiled floors and tiled walls such as bathrooms, wet rooms and shower cubicles.
Rhino Tile Levelling is designed to be quick, easy and reuseable, so once the adhesive/grouting has hardened, wedges and bases can be removed by kicking out or using the applicator tool.
Rhino in Action…
Watch these quick videos as a professional tiler demonstrates the Rhino Tile Levelling System in a real-life installation.
A simple 4 step process…
Step 1
Spread the glue, lay the tile positioning underneath the levelling base and lay the next tile.

Step 2
Insert the wedge into the levelling base and manually push along until it lightly grabs.

Step 3
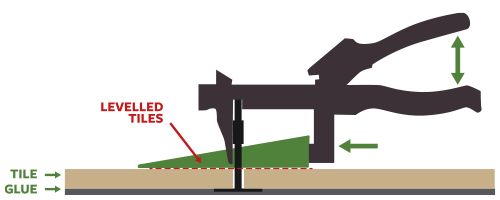
With the Rhino levelling applicator/plier, push the wedges inside the levelling base until the tiles are level.
Step 4
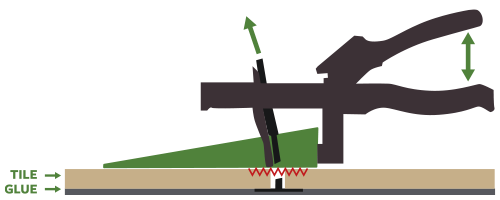
Leave the adhesive/grouting to dry and once hardened remove the levelling bases with the plier. The wedges can be recovered and reused for the next installation.
Rhino Applicator / Plier Tool
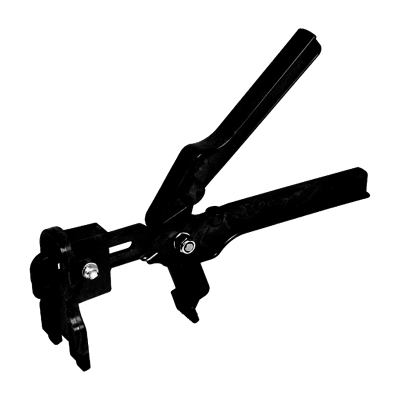
Plastic and metal plier designed for inserting and securing the Rhino levelling wedges into the
base elements. Standard finish with smooth action grip.
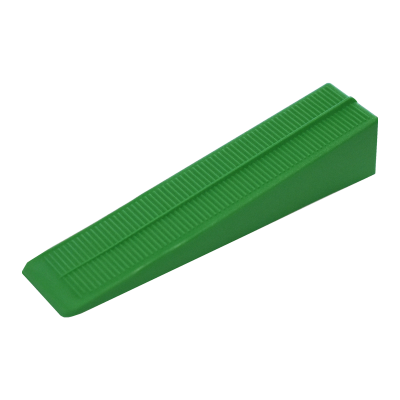
Rhino Standard Levelling wedge
Standard format Levelling Wedge in green finish, works with both 2mm and 3mm Rhino Bases. Wedges can be recovered post installation and re-used multiple times.
Sold in packs of 50.
Rhino Bases (2mm or 3mm)
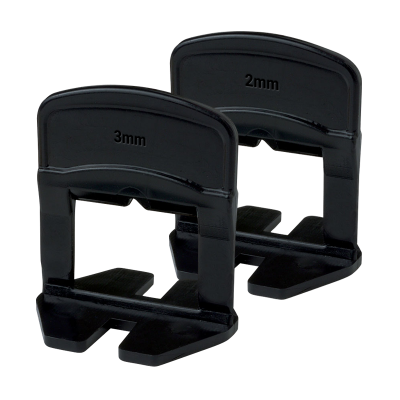
Rhino Levelling bases for tiles with thickness from 3 to 12mm. Black in colour, they are available for grout space between 2 and 3mm. The size of the grout space is printed on the base to avoid confusion.
Sold in packs of 100.

Quantity Calculator Guide
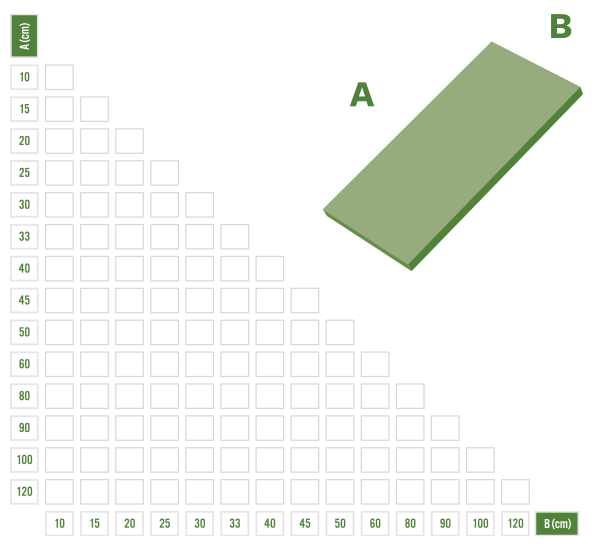
Table for calculating the quantities of wedges & bases needed per m²
Cross referencing the dimensions of your tiles in this table will enable you to obtain the recommended number of spacers (bases & wedges) that are needed for one square metre of flooring with your tile in format A x B (e.g. 80 x 40 cm).
Rhino Tile Levelling System is designed to give you outstanding results


